Process and Smart Tips for Painting a House

The tools, products, steps, and all the essential tips to help you paint your home like a pro—plus clever advice to elevate your results on walls and ceilings.
Painting your home is an enjoyable and rewarding process that combines aesthetic renewal with surface protection. It’s creative, fun, and can save you money. If you're a homeowner planning to take on the project yourself, this guide will serve as a helpful tool for organizing and planning—while also offering inspiration. It gathers all the key steps and preparations—from assessing the condition of your walls to the final finish—along with practical tips and suggestions to help you manage your time and materials properly, avoiding delays or mistakes. Because good planning makes painting easier, more efficient, and far more successful.
Planning and Choosing Colors
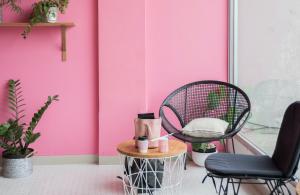
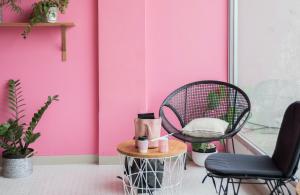
Before you get started with painting, you need to choose your colors—arguably the most fun part of the process, which leads to a personalized space that reflects your style and makes you proud of the result. When searching for the ideal shades, keep in mind the following:
- Think about the mood you want each room to convey and which personal elements you'd like to highlight. Your temperament, personality, and the unique characteristics of each room are important. Dive deep into shades and combinations based on each space.
- Consider reading this article for inspiration—it’s sure to help.
- A smart and effective approach is choosing a main color palette (a family of tones) for the whole house, and then applying harmonious complementary combinations in each room, always based on the main shade. You can find some great suggestions here.
- Another option is using two-tone schemes in certain rooms, where a dominant color is contrasted with a secondary tone to create depth and emphasis.
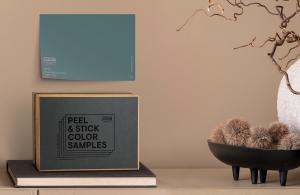
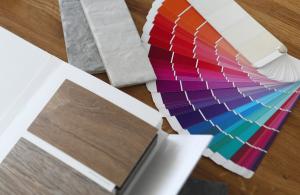
- Opt for shades that complement your natural lighting and furniture. Use the Inspired Collection fan deck for exterior and interior wall colors and explore the AI-powered Chat-in-Color tool. Chat in Color is an innovative color-finding tool that uses artificial intelligence to suggest hues and combinations based on human creativity and inspiration.
Once you’ve finalized your color choices, you can move on to the next steps.
Essential Supplies and Tools
Let’s go over the materials and tools you’ll need (perhaps not all, but the basics):
- Emulsion paints (plastic paints): Used for interior walls and ceilings. Easy to apply and resistant to stains.
- Primers: Prepare surfaces for final paint, offering strong adhesion, ensuring a perfect finish.
- Putty/filler: Used to fill in wall holes or cracks before painting.
- Tools and supplies:
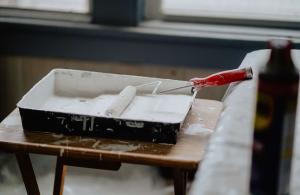
- You’ll definitely need a paint roller and a tray suitable for the roller’s size. Also, a flat brush with long bristles for large surfaces and an angled brush for tricky areas (like radiators or corners). Don’t forget a putty knife for applying filler, sandpaper (grit 120–150) for smoothing, protective nylon or cardboard for the floors, a special sponge to clean excess paint from surfaces, and masking tape (both wide and narrow).
- Also useful: an extension pole for the roller so you don’t need a ladder for ceilings.
With these essentials, you’re ready to begin painting. But which season is best? The answer: spring or autumn. Ideal temperatures, not too hot or humid.
Keep in mind: between coats, you’ll need to wait at least 5 hours for drying, so if you start early in the morning, you may be able to finish in one day. Otherwise, two days should be enough for an average 80 sq.m. apartment, especially if the temperature is between 20°C and 30°C—conditions that help paint dry faster and penetrate surfaces better.
Put on your old, comfy clothes, and let’s go! Below is the step-by-step process:
Wall Preparation
- Remove frames, shelves, and move furniture out of the way, covering it with plastic.
- Apply masking tape to surfaces you want to protect (switches, baseboards, intercoms, etc.).
- Make sure the walls are free of dust, grease, or heavy dirt. Clean with soapy water and a sponge where necessary.
- If there are holes or cracks, use sandpaper to smooth the area, fill with putty, let it dry, then sand again lightly.
- Finally, apply a primer to all surfaces to improve paint adhesion. Choose a quality primer like Eco Dur Aqua by KRAFT Paints, which also contributes to better indoor air quality.
Applying the Final Coat
- Choose a premium interior paint like KRAFT Master – a washable paint that allows for easy future cleaning and offers a beautiful matte finish while contributing to healthier indoor air.
- Begin by painting ceilings first. Once done, move on to the walls.
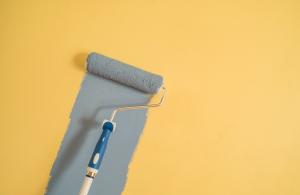
- Apply two coats, allowing 4–5 hours of drying time between them. Paint using upward strokes, getting as close as possible to the edges with an “M” or “W” motion for even application. On ceilings, apply the second coat in a crosshatch pattern for better coverage.
- Use a proper brush for the “cut-ins”—painting hard-to-reach spots and corners.
- Once dry, remove the masking tape before the paint has fully hardened, and inspect the walls. For any imperfections, touch up with a brush.
- Tip: Always paint the darker-colored walls first, then move on to lighter shades.
Most Important Tip:
Don’t forget to write down the paint codes you used somewhere safe.
Good luck and happy painting!

