Wall Filling – What You Need to Know

Essential materials, useful tools, step‑by‑step process, the role of humidity, tips and tricks for a long‑lasting result.
Daily life in the home causes wear and minor damage. A sofa bumping into the wall, holes from hangers, nails, drills and hooks, or chunks knocked off the plaster by children's ball games are common for most households.
That’s where wall filling comes in—a necessary process both to repair damage and to prepare interior (and exterior) surfaces before painting. Its goal is to fill cracks, holes, joints, or other imperfections so the wall gains a smooth, uniform appearance and is ready for primers and paint coatings.
The filler used is typically a mix of gypsum or acrylic‑based material applied with a spatula. Professionals do it precisely and quickly, but it's also doable for a DIYer—with patience and the right basic tools. With some practice, wall filling becomes a satisfying and effective part of your DIY routine.
Νecessary Materials and Tools
To properly fill a wall, you’ll need some easily available materials and tools from hardware or paint stores:
- Filler compound (general-purpose or specialized, e.g., lightweight filler for small repairs or acrylic filler for larger areas)
- Spatulas (ideally two—one small, one large)
- Sandpaper or sanding sponge for the final smoothing
- Container for mixing, cloth for cleaning
- (Optional) corner spatula and a grip‑handled file (spackling rasp)
- If the filler is powder‑based, you’ll also need water for mixing
Tip: In areas with high humidity (bathrooms, basements, coastal homes), use special moisture‑resistant fillers that are waterproof and mold‑resistant.
Step-by‑Step Wall Filling
- Prep the surface: Make sure it’s clean, dry, and free from dust, grease, or old paint residue.
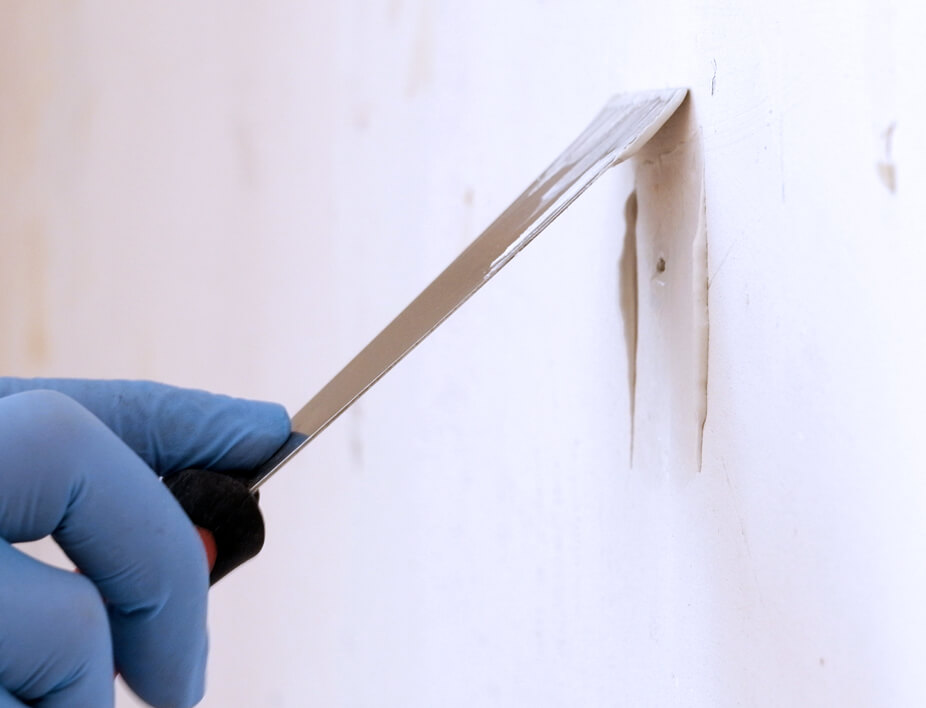
- Remove loose bits: Scrape off any flaking plaster or debris.
- Remove old anchors: For wall plugs (e.g., from mirrors), insert a screw/hook and pull out with pliers to extract the plug.
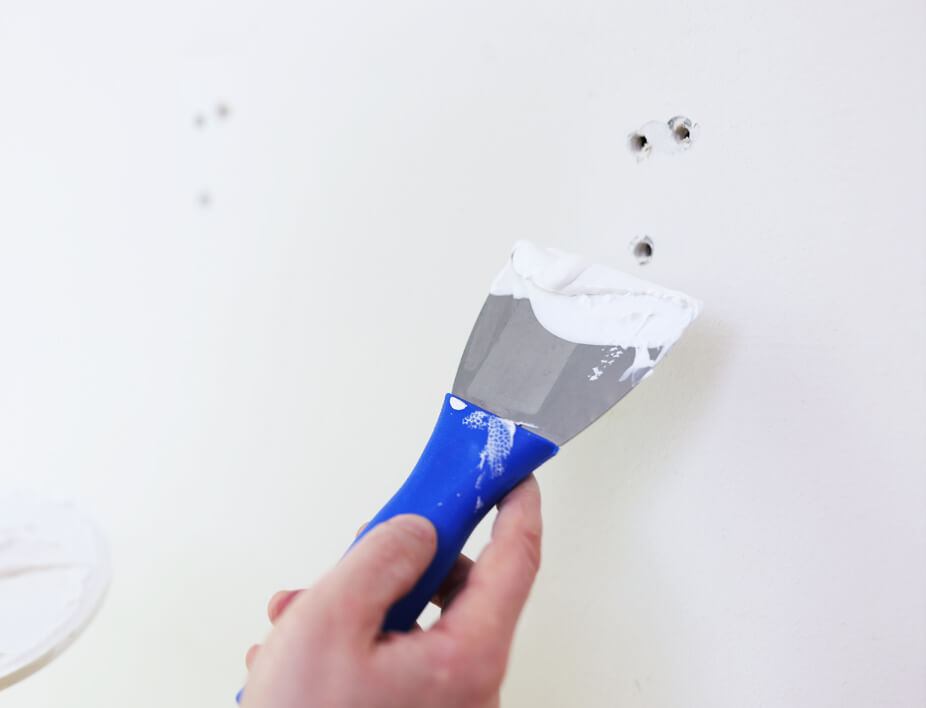
- Apply filler: Press filler into holes and gaps using a spatula, working in thin layers—avoid overfilling.
- Let it dry: Drying time varies—anywhere from a few hours to 24 hours depending on the filler.
- Sand the surface: Use sandpaper or a sanding sponge/file to smooth the area until it's flush and even.
- Repeat if needed: Apply a second layer and sand again for deeper imperfectio
Pro Tips for Excellent Results
- Protect and seal: Once repairs are done, protect the surface from moisture and dust—moisture can soften and degrade filler if it's not properly sealed.
- Use a primer: After filling and before painting, apply a primer to prevent moisture penetration and improve paint adhesion.
- Thin layers & patience: Avoid thick applications—let each layer dry fully before proceeding.
- Good lighting: Proper lighting helps spot imperfections before moving on.
- Clean tools promptly: Wash spatulas and tools right after use to keep them in good condition.